How many times have you gone to school sick because you didn't feel like writing sub plans? I know that I have. But it's not fair to you or your students to show up to work when you don't feel well. I knew that I had to figure out a way to simplify substitute teacher plans and have them always ready to go. You never know when an emergency could arise. I decided to create a Substitute Teacher Binder that matched my Teacher Binder. I am going to take you through what I include my sub binder and how I put it together, along with some helpful tips for surviving a day out.
This whole binder is editable. Each page contains a header in the font called The Skinny. So if you want to add anything different, that's the font you can download. I begin the binder with a sweet little welcome note about my class. All of these pages are just printed on regular printer paper.
It's hard to tell in the photo above, but clipped underneath that paperclip on the left are rosters. The sub will take attendance on these and place in the hallway. I always have a bunch of those in there ready to go. There is a roster like this included in the resource. I like that it's on a half page.
The Important Information page above is what I call a cover page. Cover pages begin each new section. I print these on cardstock and laminate with my laminator. The pages are much more sturdy with these laminating pouches. Of course, you don't have to make it into a book like I did. You can also print the pages and put them in a binder. Within the important information section, I have put health concerns, allergies, pull-outs, and any important information that I feel the sub needs to know about.
The procedures section is where I put my classroom management policy, helpful tips, who to ask for help, arrival procedures, my lesson plans, and dismissal procedures. You could always divide these up into sections. I just decided to condense mine. I do provide cover pages for all that, though.
When it comes to lesson plans, I always keep a general lesson plan for each part of my day in the binder. This is for emergency purposes. I always have everything needed for the week in daily bins in my classroom, so they can follow these general plans and pull from that day's bin. If I know I am going to be out, I pull these pages out. I just add a few more specific instructions to each little blurb and then stick that in the binder. Since I already have the format of my day typed up, it's super quick and easy to add these little details. I have my center rotations all in PowerPoint, so I just print those slides and put them in the binder, too. That way, they can still do centers just as if I am there.
I print and place several rosters in this section, just incase he or she needs them for whatever reason.
Here is a copy of our class schedule, but I also put the times on my lesson plans.
I have our cocurricular schedule printed on our wall with a clip that shows where we go for the day. I also put one in here and just put a sticky note beside where we go.
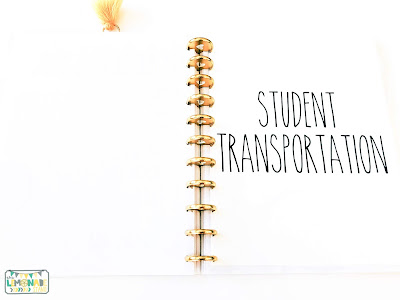
In the student transportation section, I have a box sheet that tells how each student gets home. I also have a copy hanging beside my door.
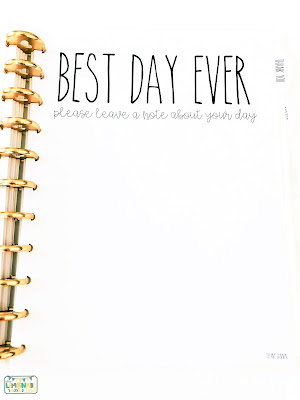
Finally, I have these Best Day Ever note pages for the sub to leave me a note about how the day went. Hopefully, it's a positive one!
I also include these notes pages incase they need somewhere to jot notes.
I do add tabs to the cover pages, so the substitute teacher can easily find each section when needed. They are circle tabs that I print on cardstock. I then laminate them and tape them to the back of each cover page.
Like I mentioned before, you do not have to bind yours like I did. You could just as easily use a binder and sheet protectors. But if you do want yours to look like mine, I used the Happy Planner accessories that you can find at Michael's or on Amazon. I put some affiliate links below to what I used for mine. The metal discs are a little more sturdy, but the plastic ones are cheaper and work just fine. I also love the paper punch below way better than the pink punch by Happy Planner. It can punch through lamination much more easily and can punch more pages at a time. My pink one stopped working after a while, sadly. So, I highly recommend this one!


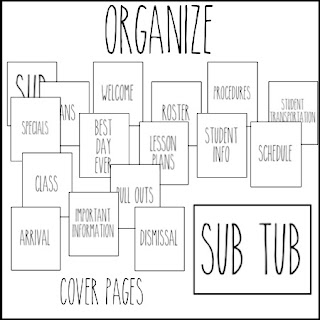
One thing I forgot to mention is where I keep my substitute binder. I have a basket by my door with the label Sub Tub on it where I keep the planner. Inside the basket, I also have extra printables incase they run out of things to do. I hate to leave busy work like that, but you just never know. You can see below a more detailed view of all the pages I have included, but have fun making it your own!


Hello really awesome web site!! Guy .. Beautiful .. Wonderful .. I’ll bookmark your site and consider the feeds moreover. I am pleased to search out beneficial details appropriate here inside of the published material, thanks for sharing…
ReplyDelete섯다
Glad to chat your blog, I seem to be forward to more reliable articles and I think we all wish to thank so many good articles, blog to share with us.
ReplyDelete성인웹툰